© 2015 by CAKE QUIRK. Powered by Blogger.
cake quirk


These Pokemon buns were inspired by Down-N-Out's 'Pokeburgs', located here in Sydney! I just think they're sooo cute!


POKEMON BUN RECIPE + STEPS
based on the recipe by HealthyJunkFood (their channel is so amazzze!)

Start with:
1/2 cup plain flour
1 tbsp instant dry yeast
1 cup hot water

Next:
Whisk all 3 ingredients in a large bowl. Leave for 10 minutes until frothy.

Then add:
1 egg
3 tbsp melted butter
2 tbsp + 1 tspn granulated sugar
1 tspn salt
2 1/2 cups plain flour (add little by little)

_______________________________________________


Once it becomes a dough, divide into 3 balls.
Colour each ball yellow (Pikachu), blue (Squirtle) and orange (Charmander).
I used a stand mixer to begin with, then eventually used my hands to blend the colours well into the dough.
Might get a little bit tricky, but think of it as a hand work out!

Once coloured, put the balls into 3 separate bowls and rub it with oil.
Cover each bowl with cling wrap and set aside for 1 hour.
(the dough will double in size within that hour.)

After an hour, divide each dough into 2 balls and tuck all edges under until it looks like a bun.
Place widely apart on a tray with baking paper, cover with cling wrap then set aside for another hour until these buns have risen and expanded.

Once done, remove cling wrap and bake in the oven at 180 C (356 F) for 15 minutes.
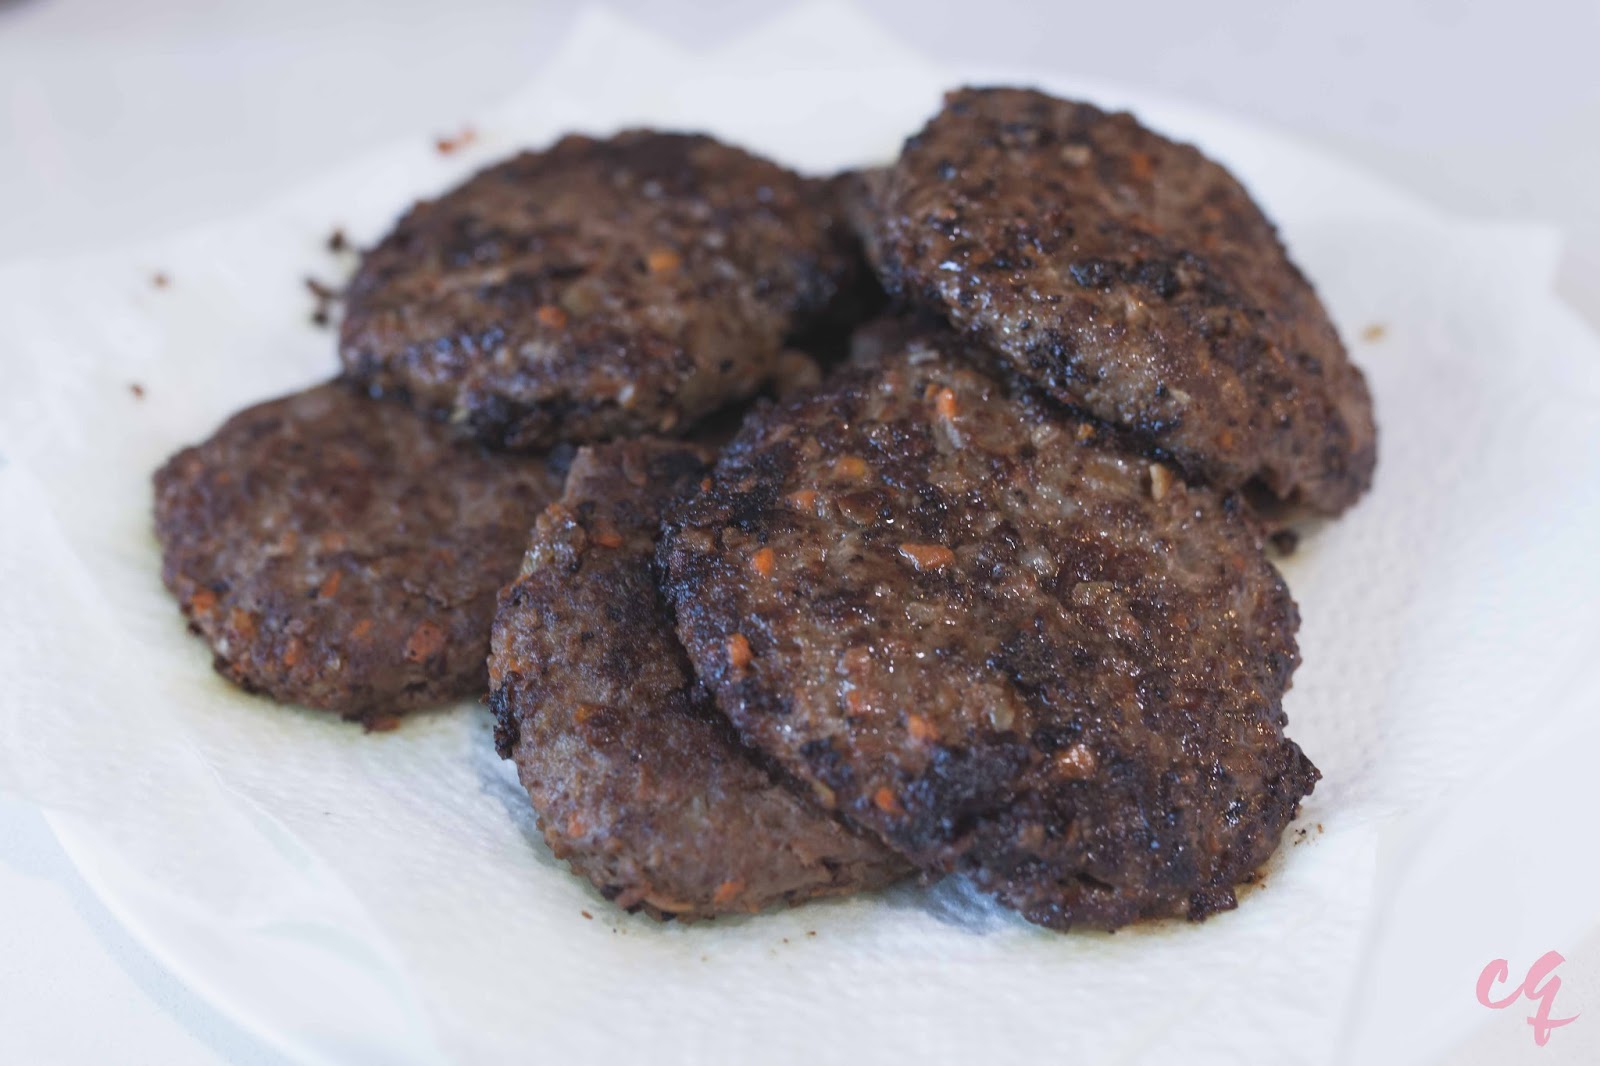


 PATTY RECIPE + STEPS

Ingredients:
1/2 kg minced beef
1 whole onion (grinded)
1 whole carrot (grinded)
splash of oyster sauce (be generous for more flavour!)
sprinkle of salt & pepper (again, if you want it to be tastier, just add more!)
2 eggs
some flour
some grated cheese (secret ingredient alert!)
some seasoning of your choice (optional: chicken salt, your favourite chilli flavour etc)

________________________________________________


Add all ingredients in a bowl.
Mix everything. 
I prefer using my hands to mix when flavouring the beef (I wore gloves.. optional).
But of course, you can always use your favourite wooden spoon!

Once mixed well, shape the burgers into round patties. My trick is rolling each portion into a ball (between my hands) and slowly flattening it with my palms, until I get the right shape I want.
Remember to make the patties slightly bigger than your buns, as cooking it will make them shrink (just a tad bit!)

Once all patties are in shape, it's ready to cook!

Fry the patties in a pan with some oil.
Flip and flop 'em till it turns brown and smell soooo goooooooood.

Done!


Share
Tweet
Pin
Share
No comments


INGREDIENTS

Chocolate Mirror Glaze


-15g of gelatin sheets
-45g of dark chocolate (rich with cocoa powder)
-110g of water
-65g of heavy cream
-65g of cocoa powder
-210g of granulated sugar

Steps

1. Soak the gelatin sheets in cold water for 10 minutes until it blooms. Set aside.

2. Place a medium sized sauce pan on the stove and set to medium heat. Add in the water, sugar, cocoa powder and heavy cream. Stir occasionally and wait till it boils.

3. One it boils, remove the sauce pan from the heat and begin adding the dark chocolate. Stir till it has dissolved.

4. Next, remove any excess water from the gelatin sheets by simply squeezing it by your hand. You can also use a sifter to drain it. Then, add it into the sauce pan. Stir until it has dissolved.

5. Then, run the glaze through a sifter, pouring it into a glass bowl (just so the heat would remain in the glaze). 

6. Sift the glaze one more time, till no chunks and bubbles are seen. You can sift the mixture one more time if you think the glaze isn't smooth enough. 

7. Make sure the glaze's temperature isn't too hot (this might possibly melt the cream on your cake) or too cold (may lose its gloss) before pouring it. It should roughly be 35C/95F (or just warm enough when you touch the bowl).

THEN POUR AWAAAAAAY! After making this, you'll be wanting to glaze everything! Fruits, toasts, cookies, cheesecakes... anything!! :D


FAQ

Can I use gelatin powder?
Yes, gelatin powder can be used - 15g. Just make sure to add it into 115g of water, until it blooms (for 10 minutes). Then sift until smooth! 

Can mirror glaze only be used over fondant? Or can it also be used over buttercream?
Mirror glaze can definitely be used on both. Just make sure the temperature isn't too hot (should be approx 35C) or too cold (as this can reduce its glossiness).

What is under the mirror cake?
For this tutorial, I used fondant over a perfectly smooth buttercream.

How would you go about doing a white chocolate mirror glaze?
Here is my white chocolate tutorial. Just skip the colouring process to achieve a white glaze :)

Can I substitute agar agar powder instead of gelatin?
Yes, you can substitute agar agar. Just remember, 4 sheets of gelatin is equivalent to 4 grams of agar agar. For this recipe, it should approximately be 6-8 grams.

Glaze condition after pouring?
After a while (around 30 mins or so), the texture of the glaze will begin to dry out (try to touch it, it's sticky and 'jelly' like, but will still look shiny. You can definitely transport it even after 15 minutes of glazing!

How can I store left over glaze? Can I freeze to use at a later time?
Do you have an idea how long it can be stored for?
You can store the glaze in the fridge for a week or two, then when you're ready to use it, warm it in the microwave (or in a saucepan on a stove) until it looks glossy again! 

Unfortunately where I live, most people don't use measurement by grams so I'm not sure how to judge how much to use. So I was wondering if you have this recipe using the standard American measurement with cups posted anywhere online?
I'd suggest buying a scale. Cups aren't accurate. It's always better to measure your ingredients in grams when making complex pastries.

How many gelatin sheets did you use?
Try and weigh your gelatin sheets till it reaches 15 grams. I used 6 sheets as the size were small. But if you have bigger sheets, use less. Always check the weight!


I hope this section helped you! If you have any other questions, please comment or contact me and I'll try my best to answer!


Don't forget to watch my tutorial! 

And SUBSCRIBE for more easy recipes!!


xx

ysabel


Share
Tweet
Pin
Share
5 comments
Older Posts

About me

21 year old, self-taught baker


OTHER LINKS

  • YOUTUBE
  • INSTAGRAM
  • FACEBOOK
  • TUMBLR
  • PINTEREST
  • TWITTER

Recipes

  • Banana Split Cupcake
  • Beach Cupcake
  • Blueberry Cheesecake Cups
  • Blueberry Shake
  • Caramel Popcorn Dessert Cups (no bake)
  • Chocolate Caramel Cake + Macarons
  • Chocolate Mirror Glaze
  • Christmas Wreath Cake
  • Ferrero Rocher Cupcakes
  • Fruity Popsicles
  • Inside Out Choc Pops
  • Lace Pops
  • Marbled Cheesecake Cups (no bake)
  • Marble Chocolate Mirror Glaze
  • Melted Ice Cream Cake
  • Nutella Oreo Cheesecake Cups (no bake)
  • Oreo Cake
  • Oreo Ice Cream Cups
  • Pokemon Burgers
  • Red Velvet Brownie Shake
  • Red Velvet Cheesecake Cups
  • Rocky Road Cupcakes
  • S'mores Shake
  • S'mores Cheesecake Cups
  • S'mores Cupcake
  • Strawberry & Blueberry Cake
  • Strawberry Milkshake Cupcakes
  • Valentine's Treats
  • Red Mirror Glaze

Created with by ThemeXpose | Distributed By Gooyaabi Templates